Building the KC60
May 24, 2016 -Recently I have been super pumped on mechanical keyboards. I found one small enough to easily use when I'm on the couch or in a café which made it easier to spend most of my time using one and get used to it. At this point it feels weird and uncomfortable when I use my regular laptop keyboard!
Keyboards can be a bit of a rabbit hole. Once you get into it, there are opportunities to tweak and change things for quite some time. Something even as simple sounding as changing the caps, maybe for a popular set like this
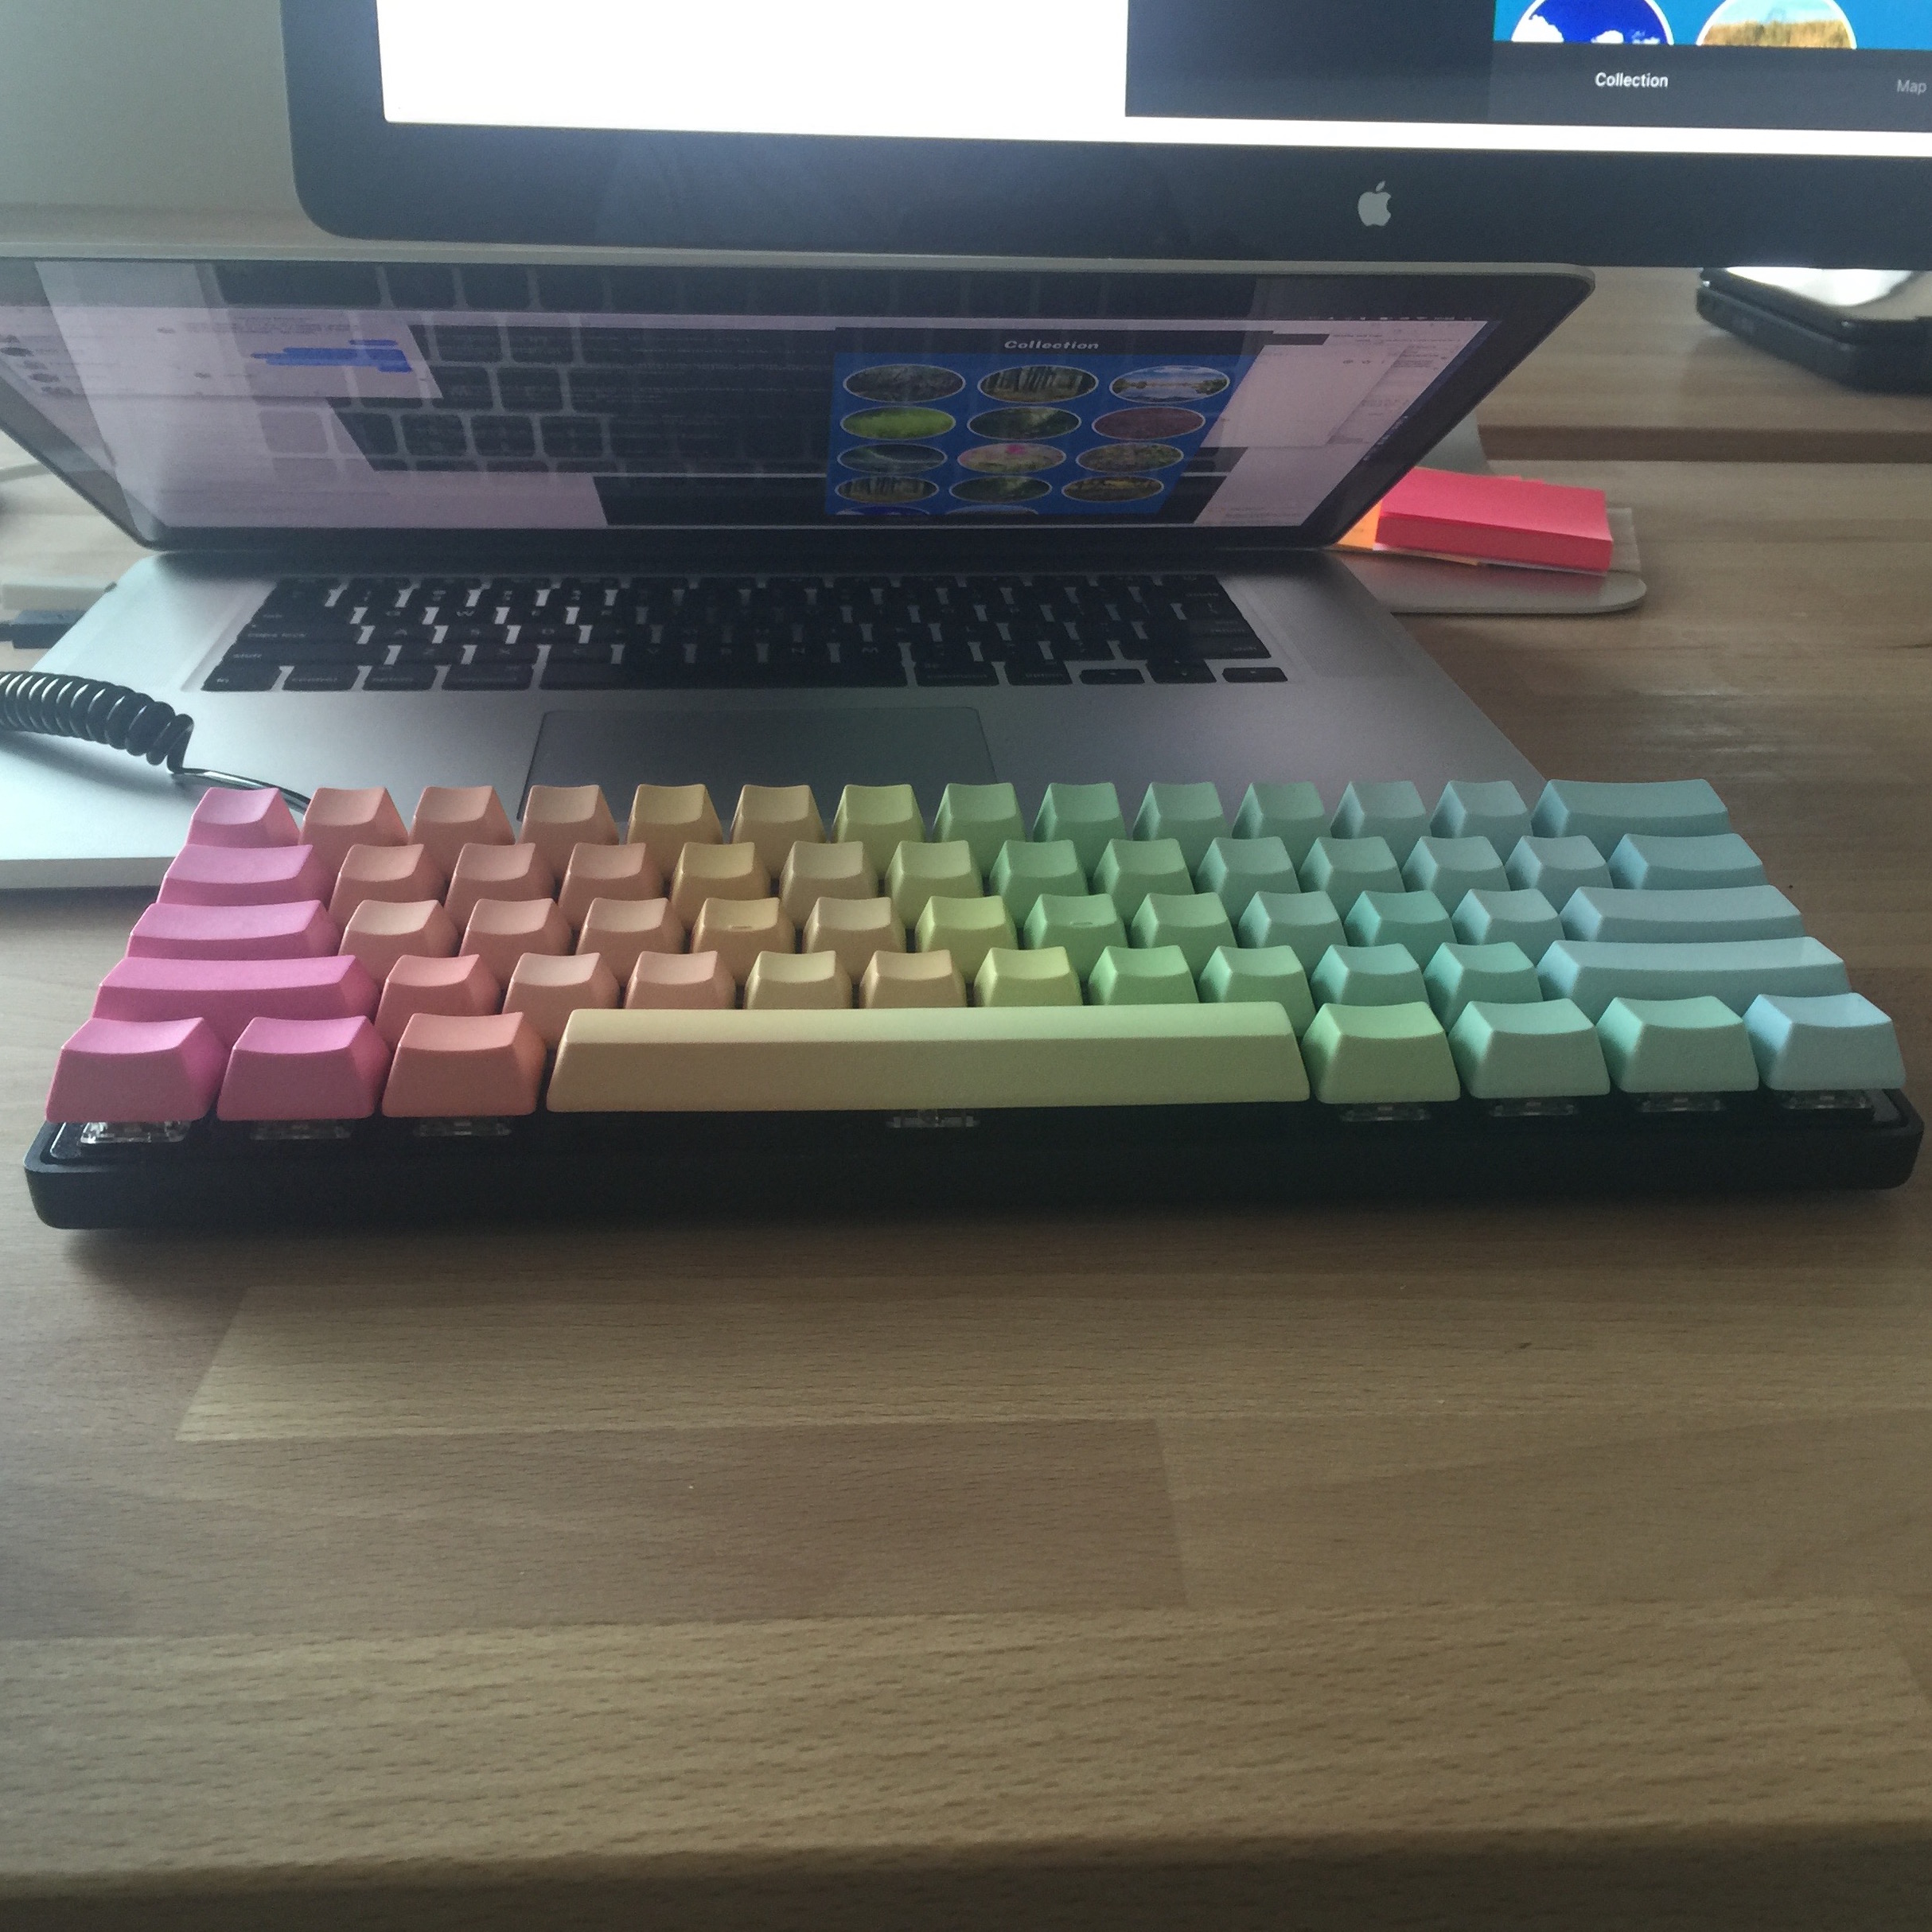
can bring on many choices. What kind or material do you want your caps made out of? Do you want letters printed on the top? the side? not at all? what color? what shape? so many choices!
I went even further down and decided that, instead of choosing a keyboard which I could enjoy and maybe customize, chose to go all in and build one up from base pieces. Building a keyboard means you can get one exactly the way you like. It also, for me, means I have a fun project to work on.
The Build
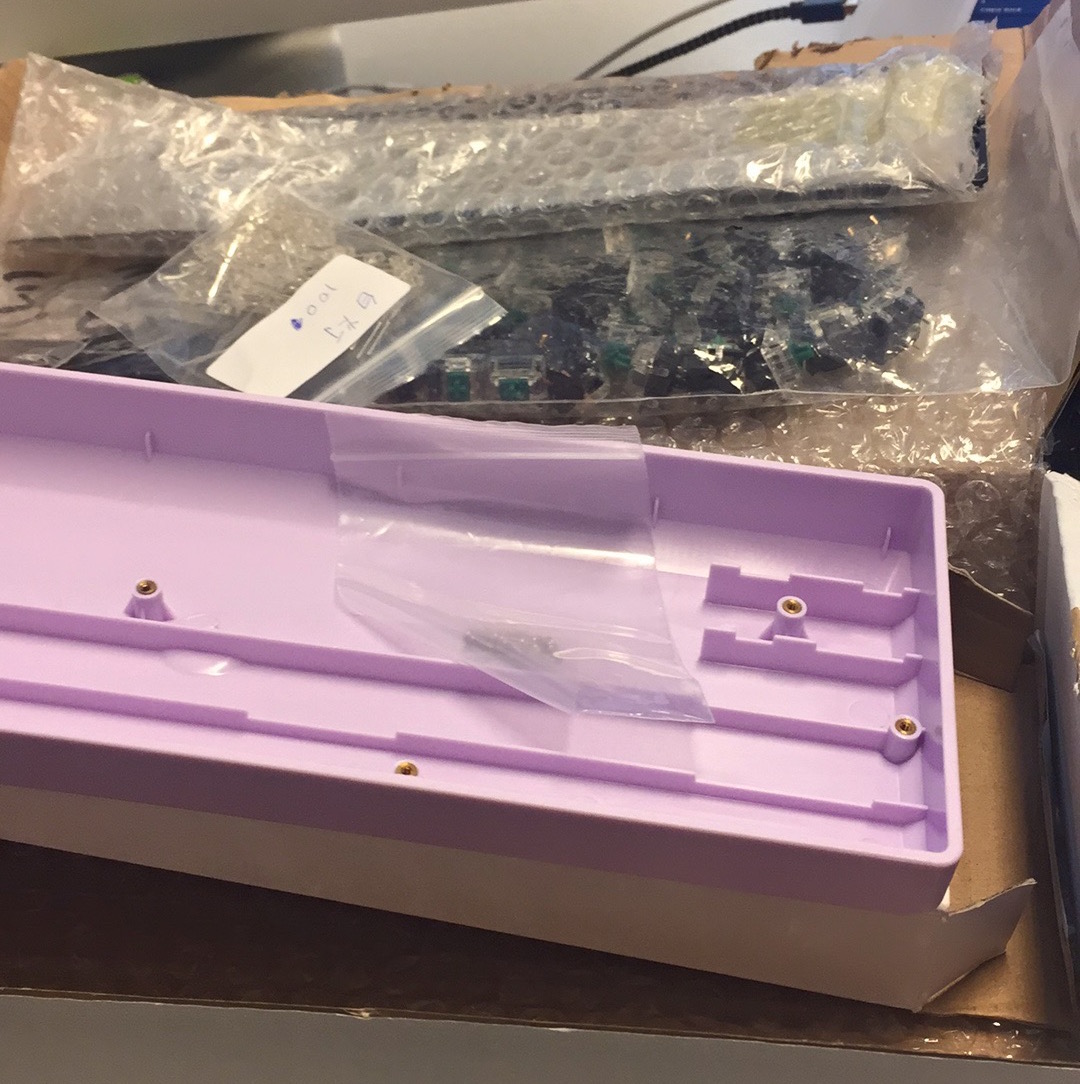
I started with a KC60 kit. It saved me the effort of sourcing all the parts I'd need individually. Building a keyboard sounds complicated, but it's fairly straightforward (especially now with YouTube giving access to so many videos explaining how to do things like soldering). You only need a few parts:
- KC60 PCB (To make things much easier than hand-wiring each switch together.)
- Top plate (Gives the switches something solid to push against and looks nice.)
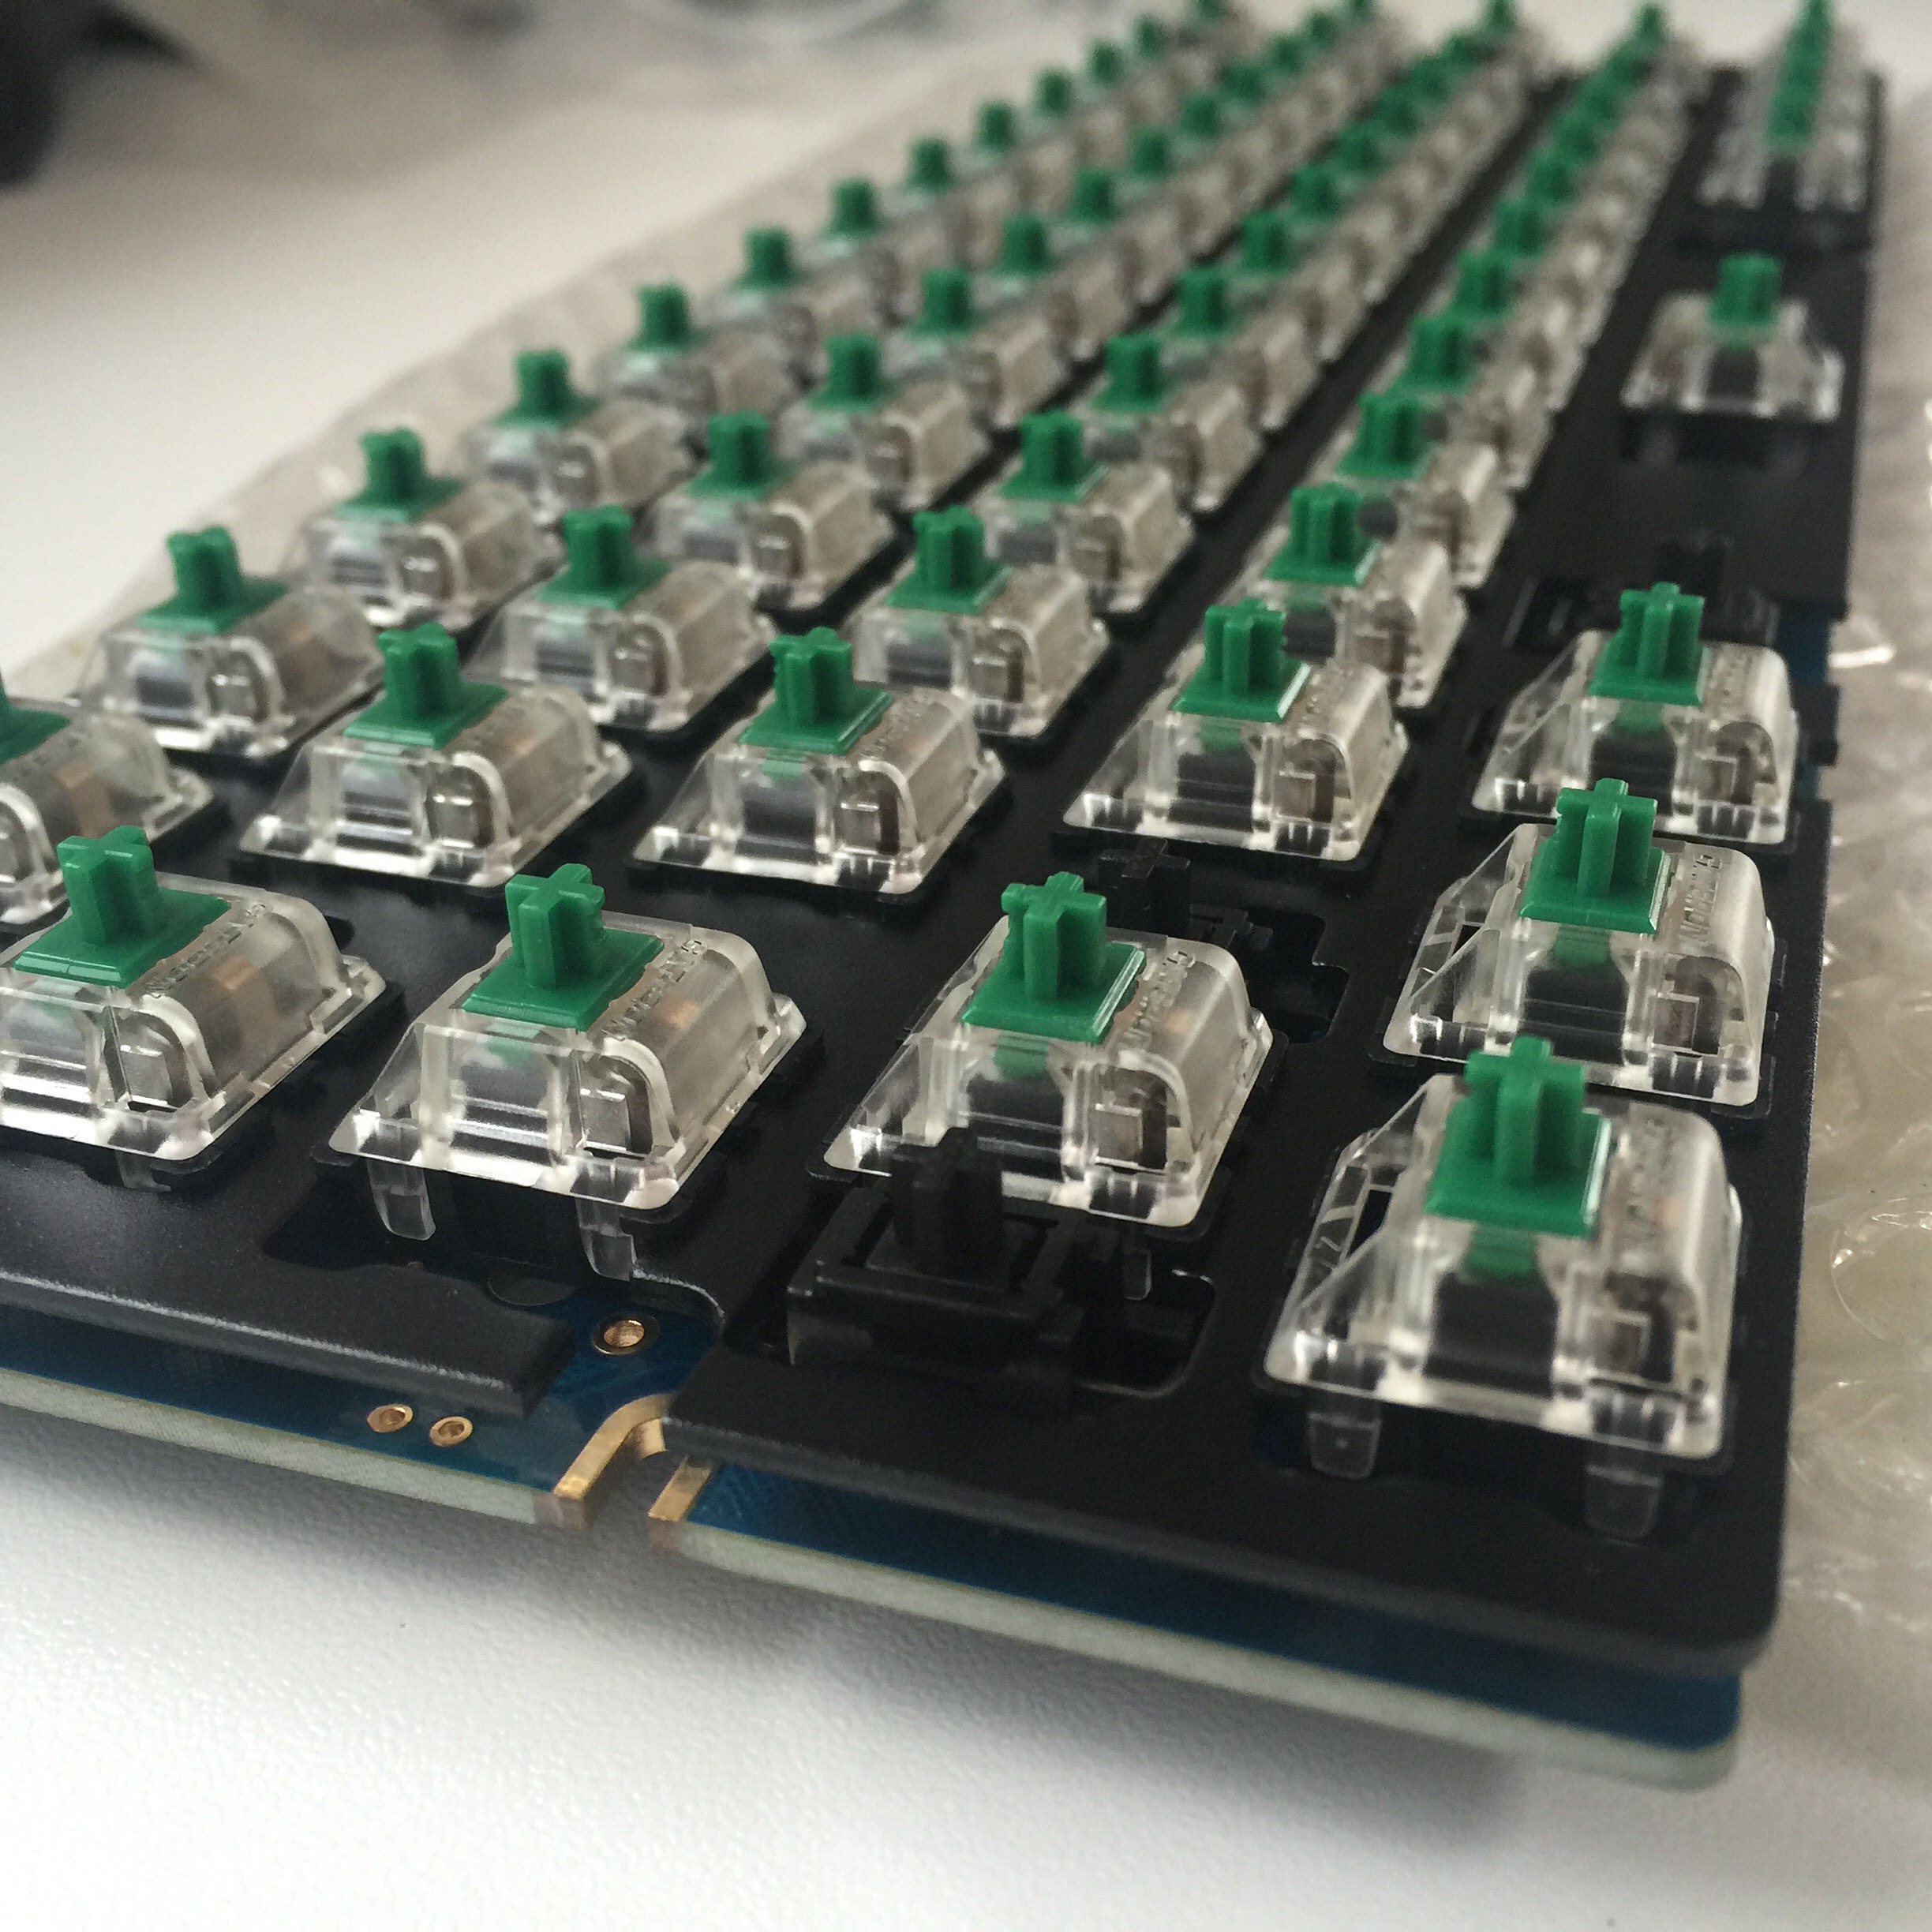
- Switches (It might take quite some time to choose what kind of switch.)
- LEDs (Not required, but if you want them, they're fun to play with.)
- A case that fits (These can be cheap plastic or machined aluminum or wood, it's up to you.)
- Stabilizers (For big keys like the space bar.)
- Keycaps (Any kind you like, have fun with it!)
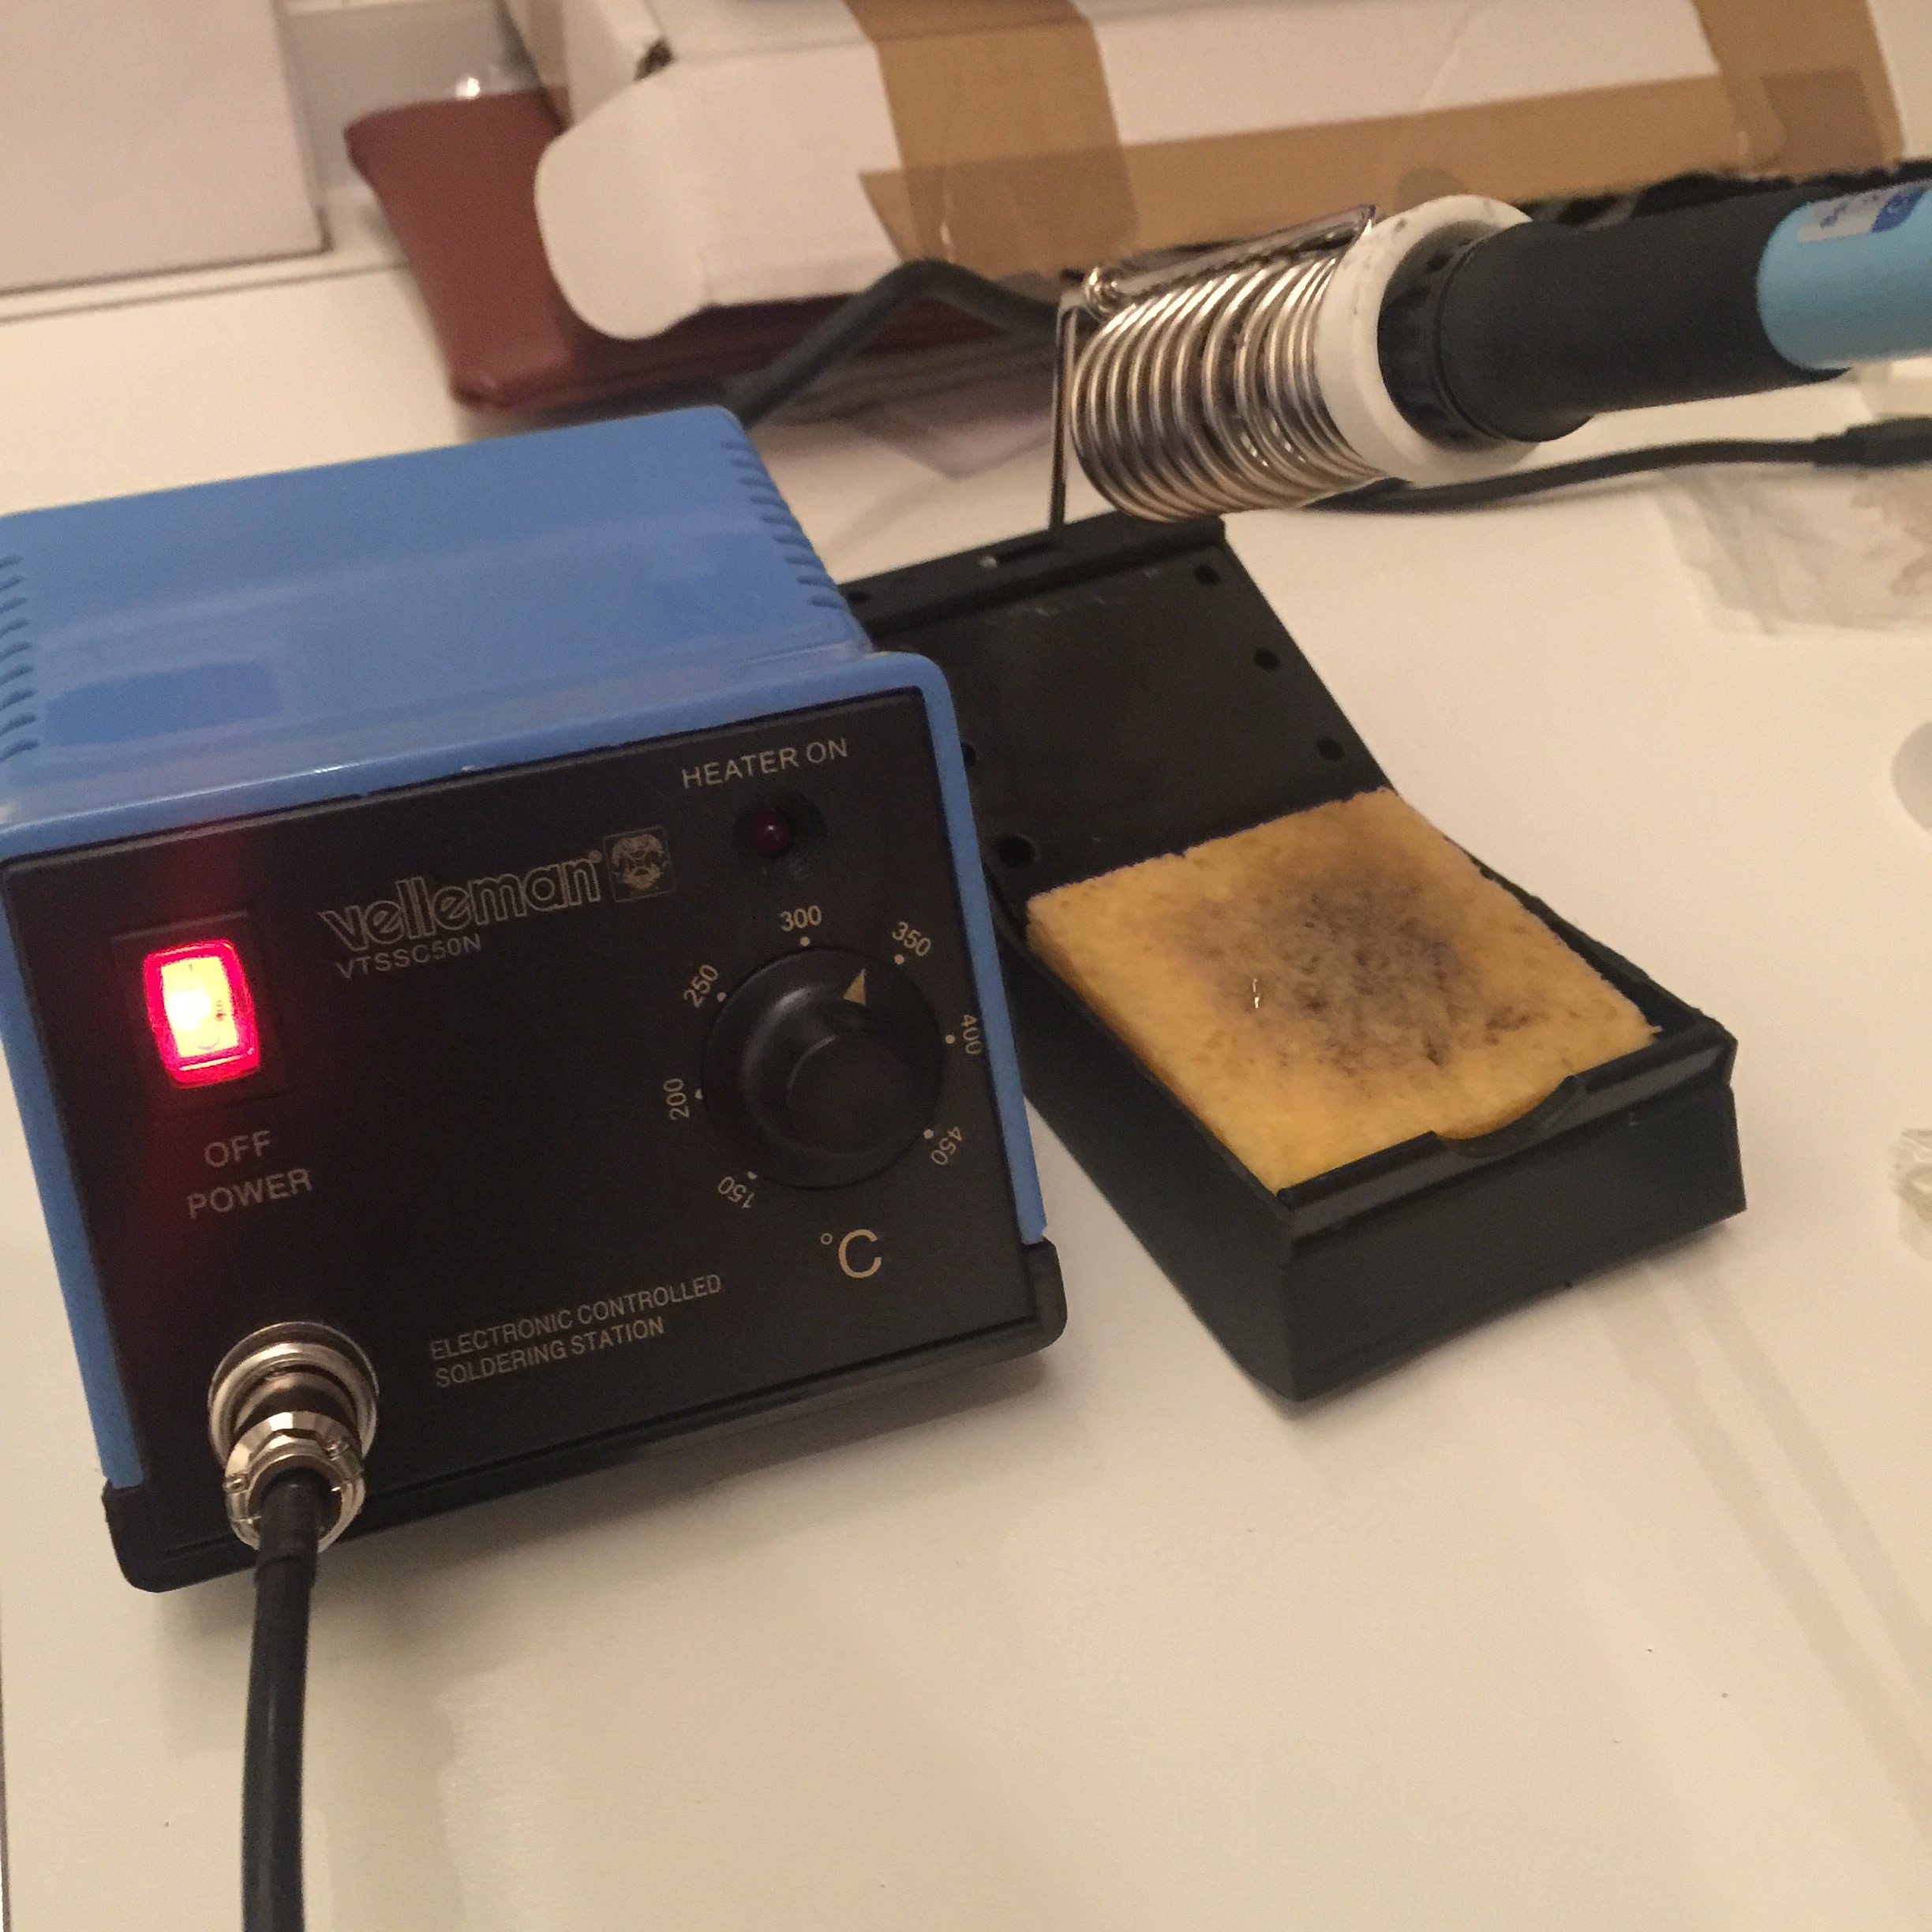
- A soldering iron (Doesn't need to be a super expensive one, mine was less than 100€ I think.)
- Solder (The cheap stuff they recommend at the electronics store is plenty good enough.)
First you'll want to install the stabilizers. They come in little pieces and need to be assembled first. This <video: https://www.youtube.com/watch?v=b8wYeGa6HEI&feature=youtu.be> explains how to assemble them and install them. This is the first thing to do because it's not possible to fit them in once the top plate is attached to the pcb. Save yourself the pain of needing to undo all your work if you fail to do this first.
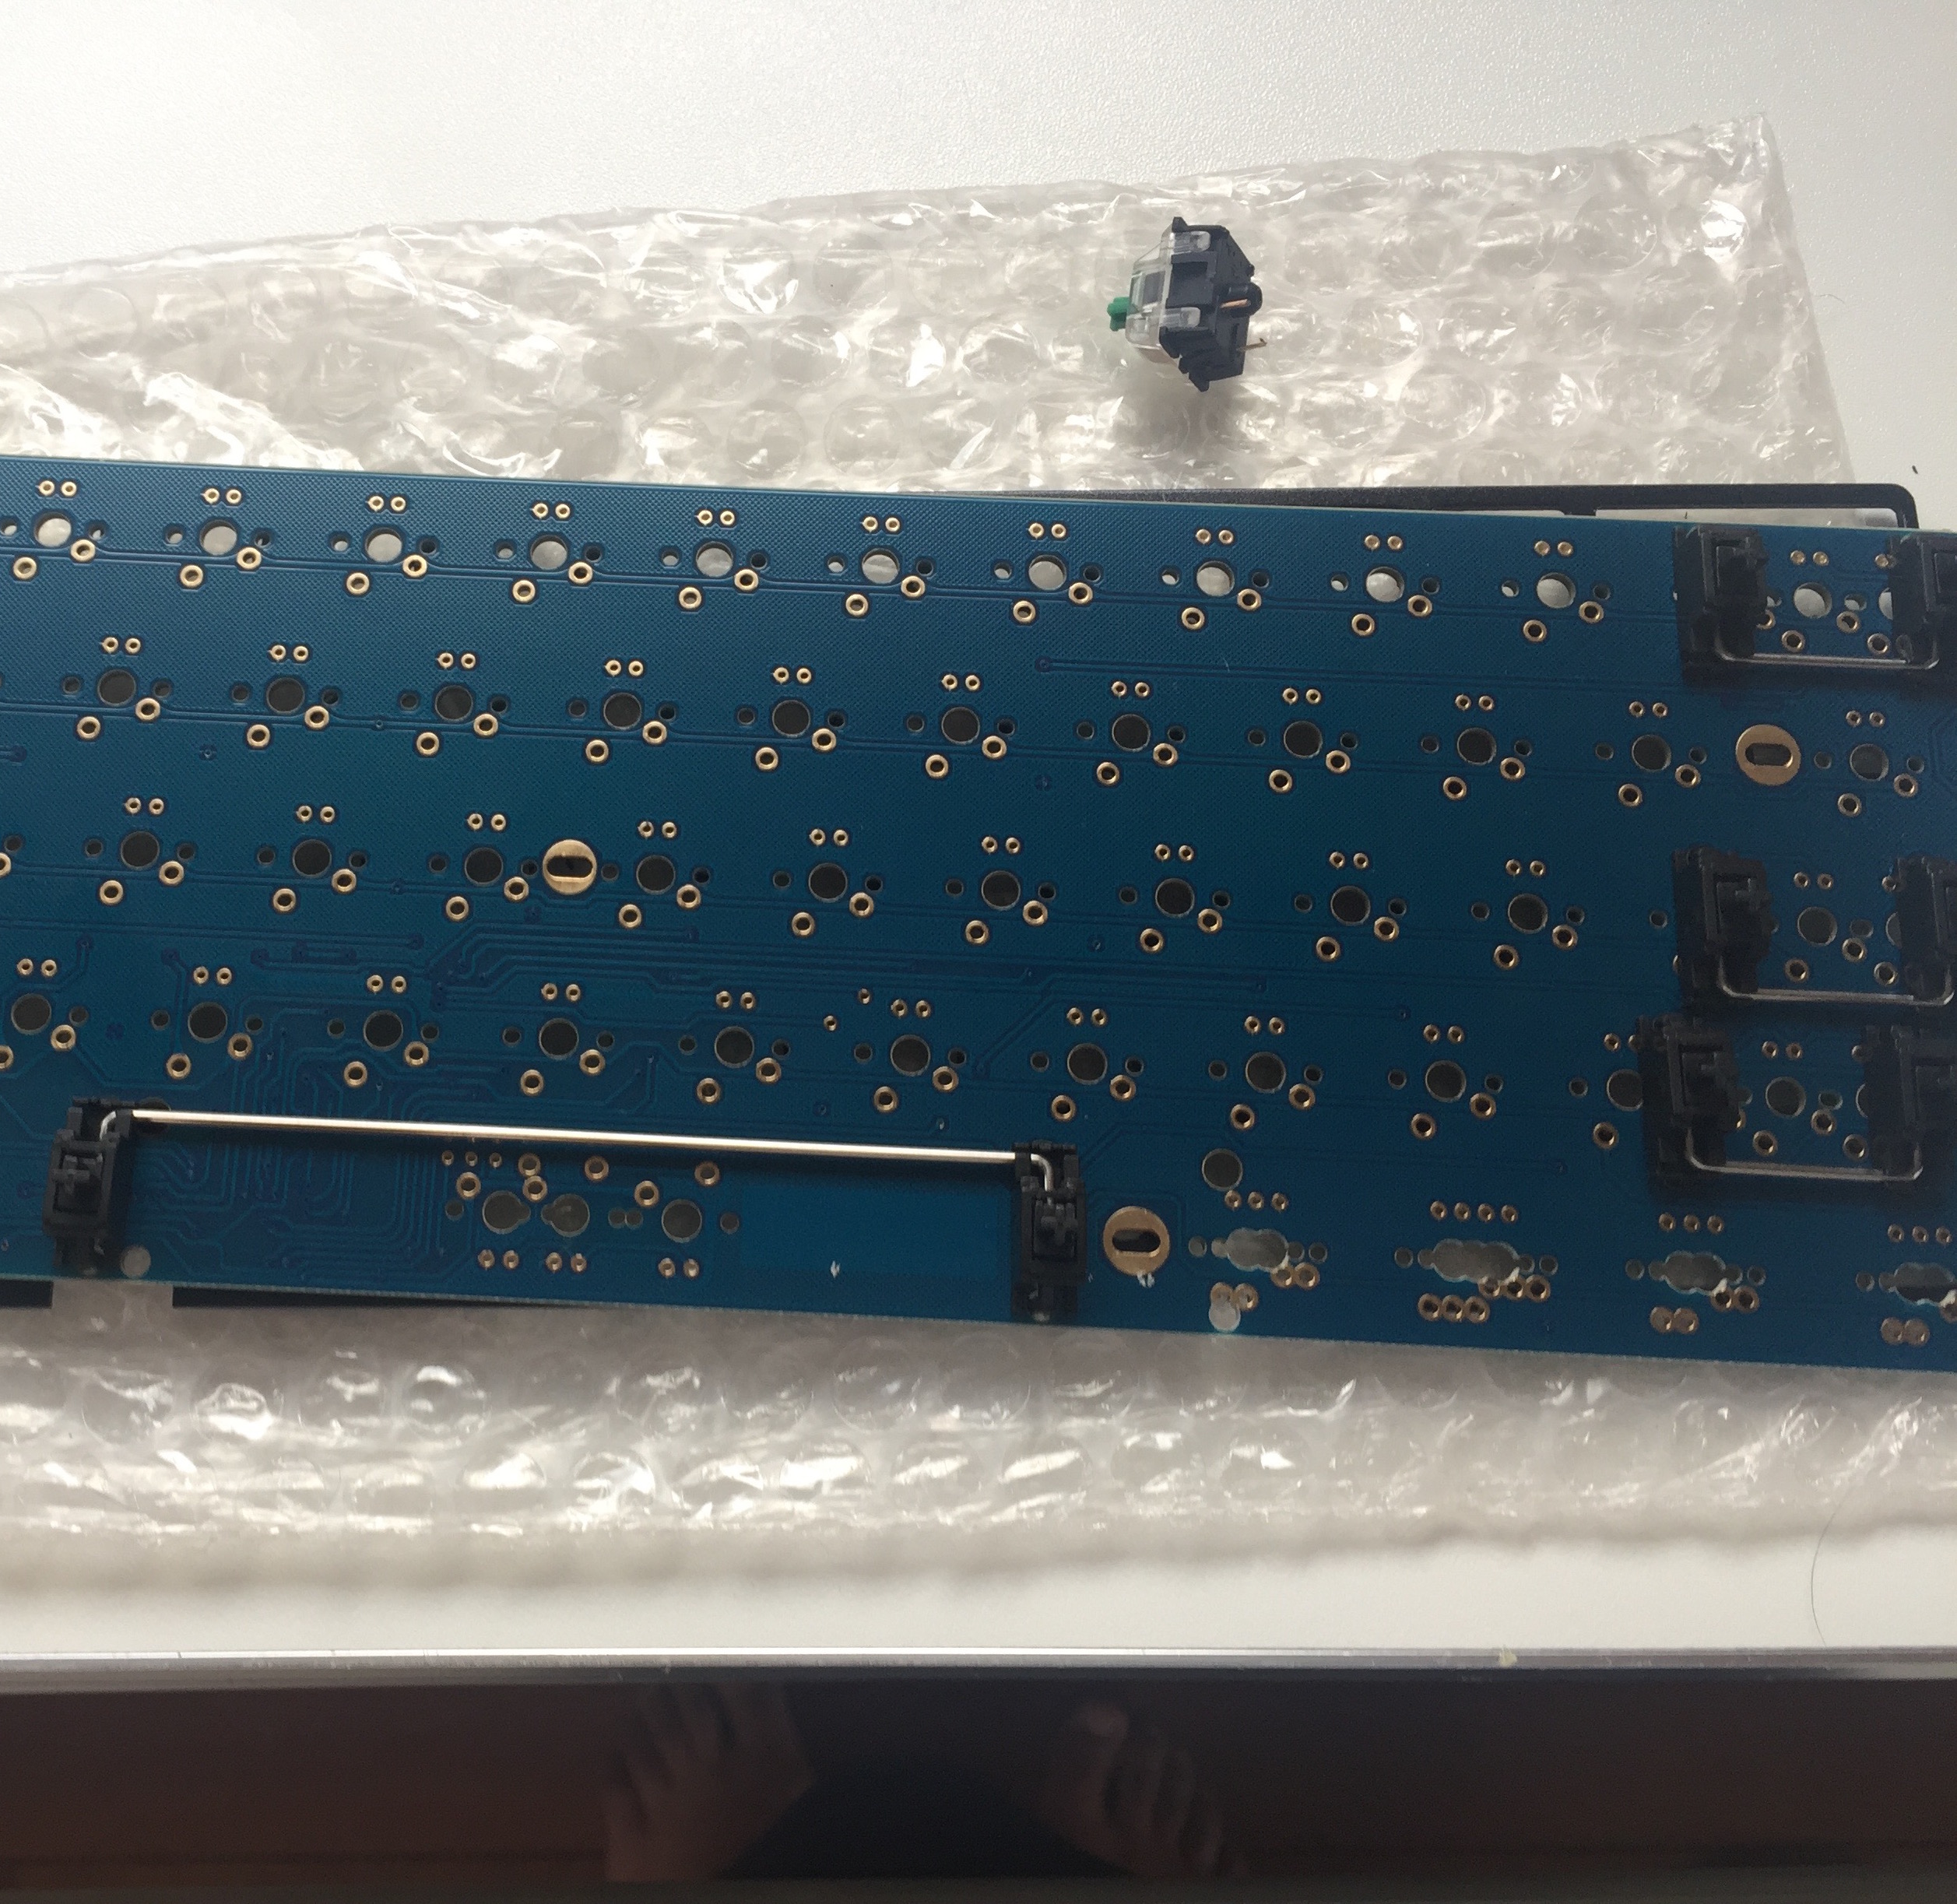
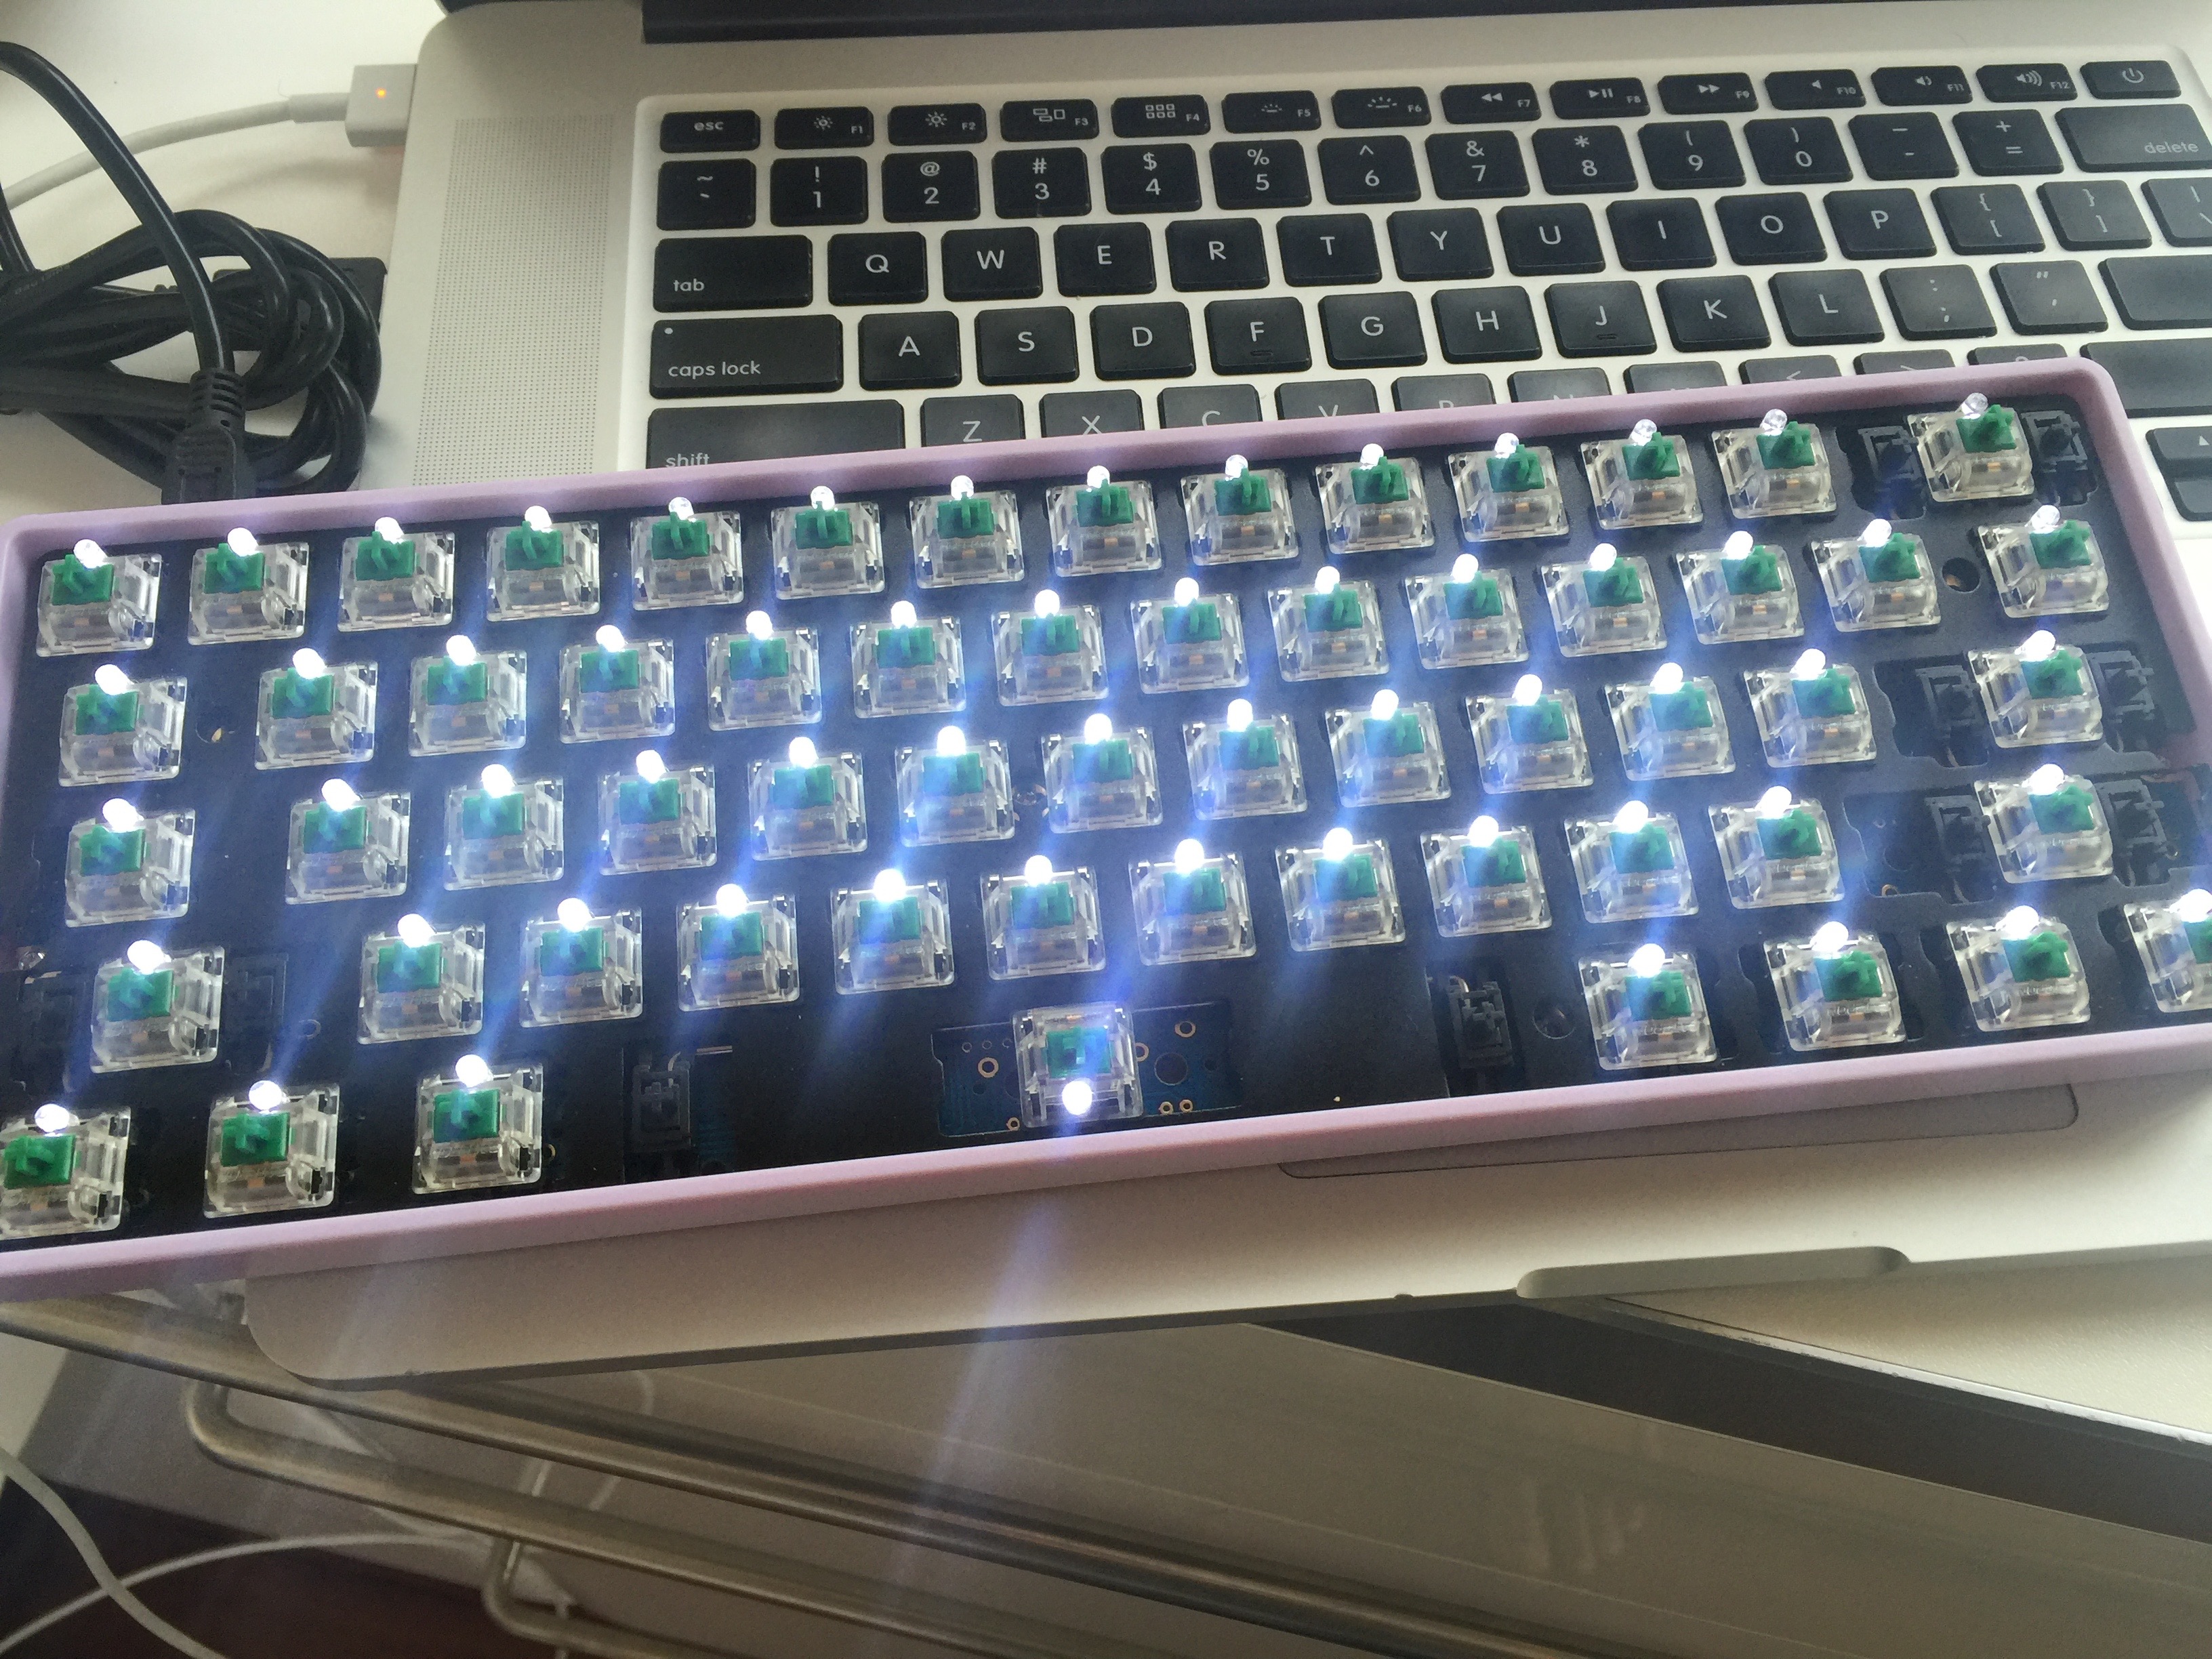
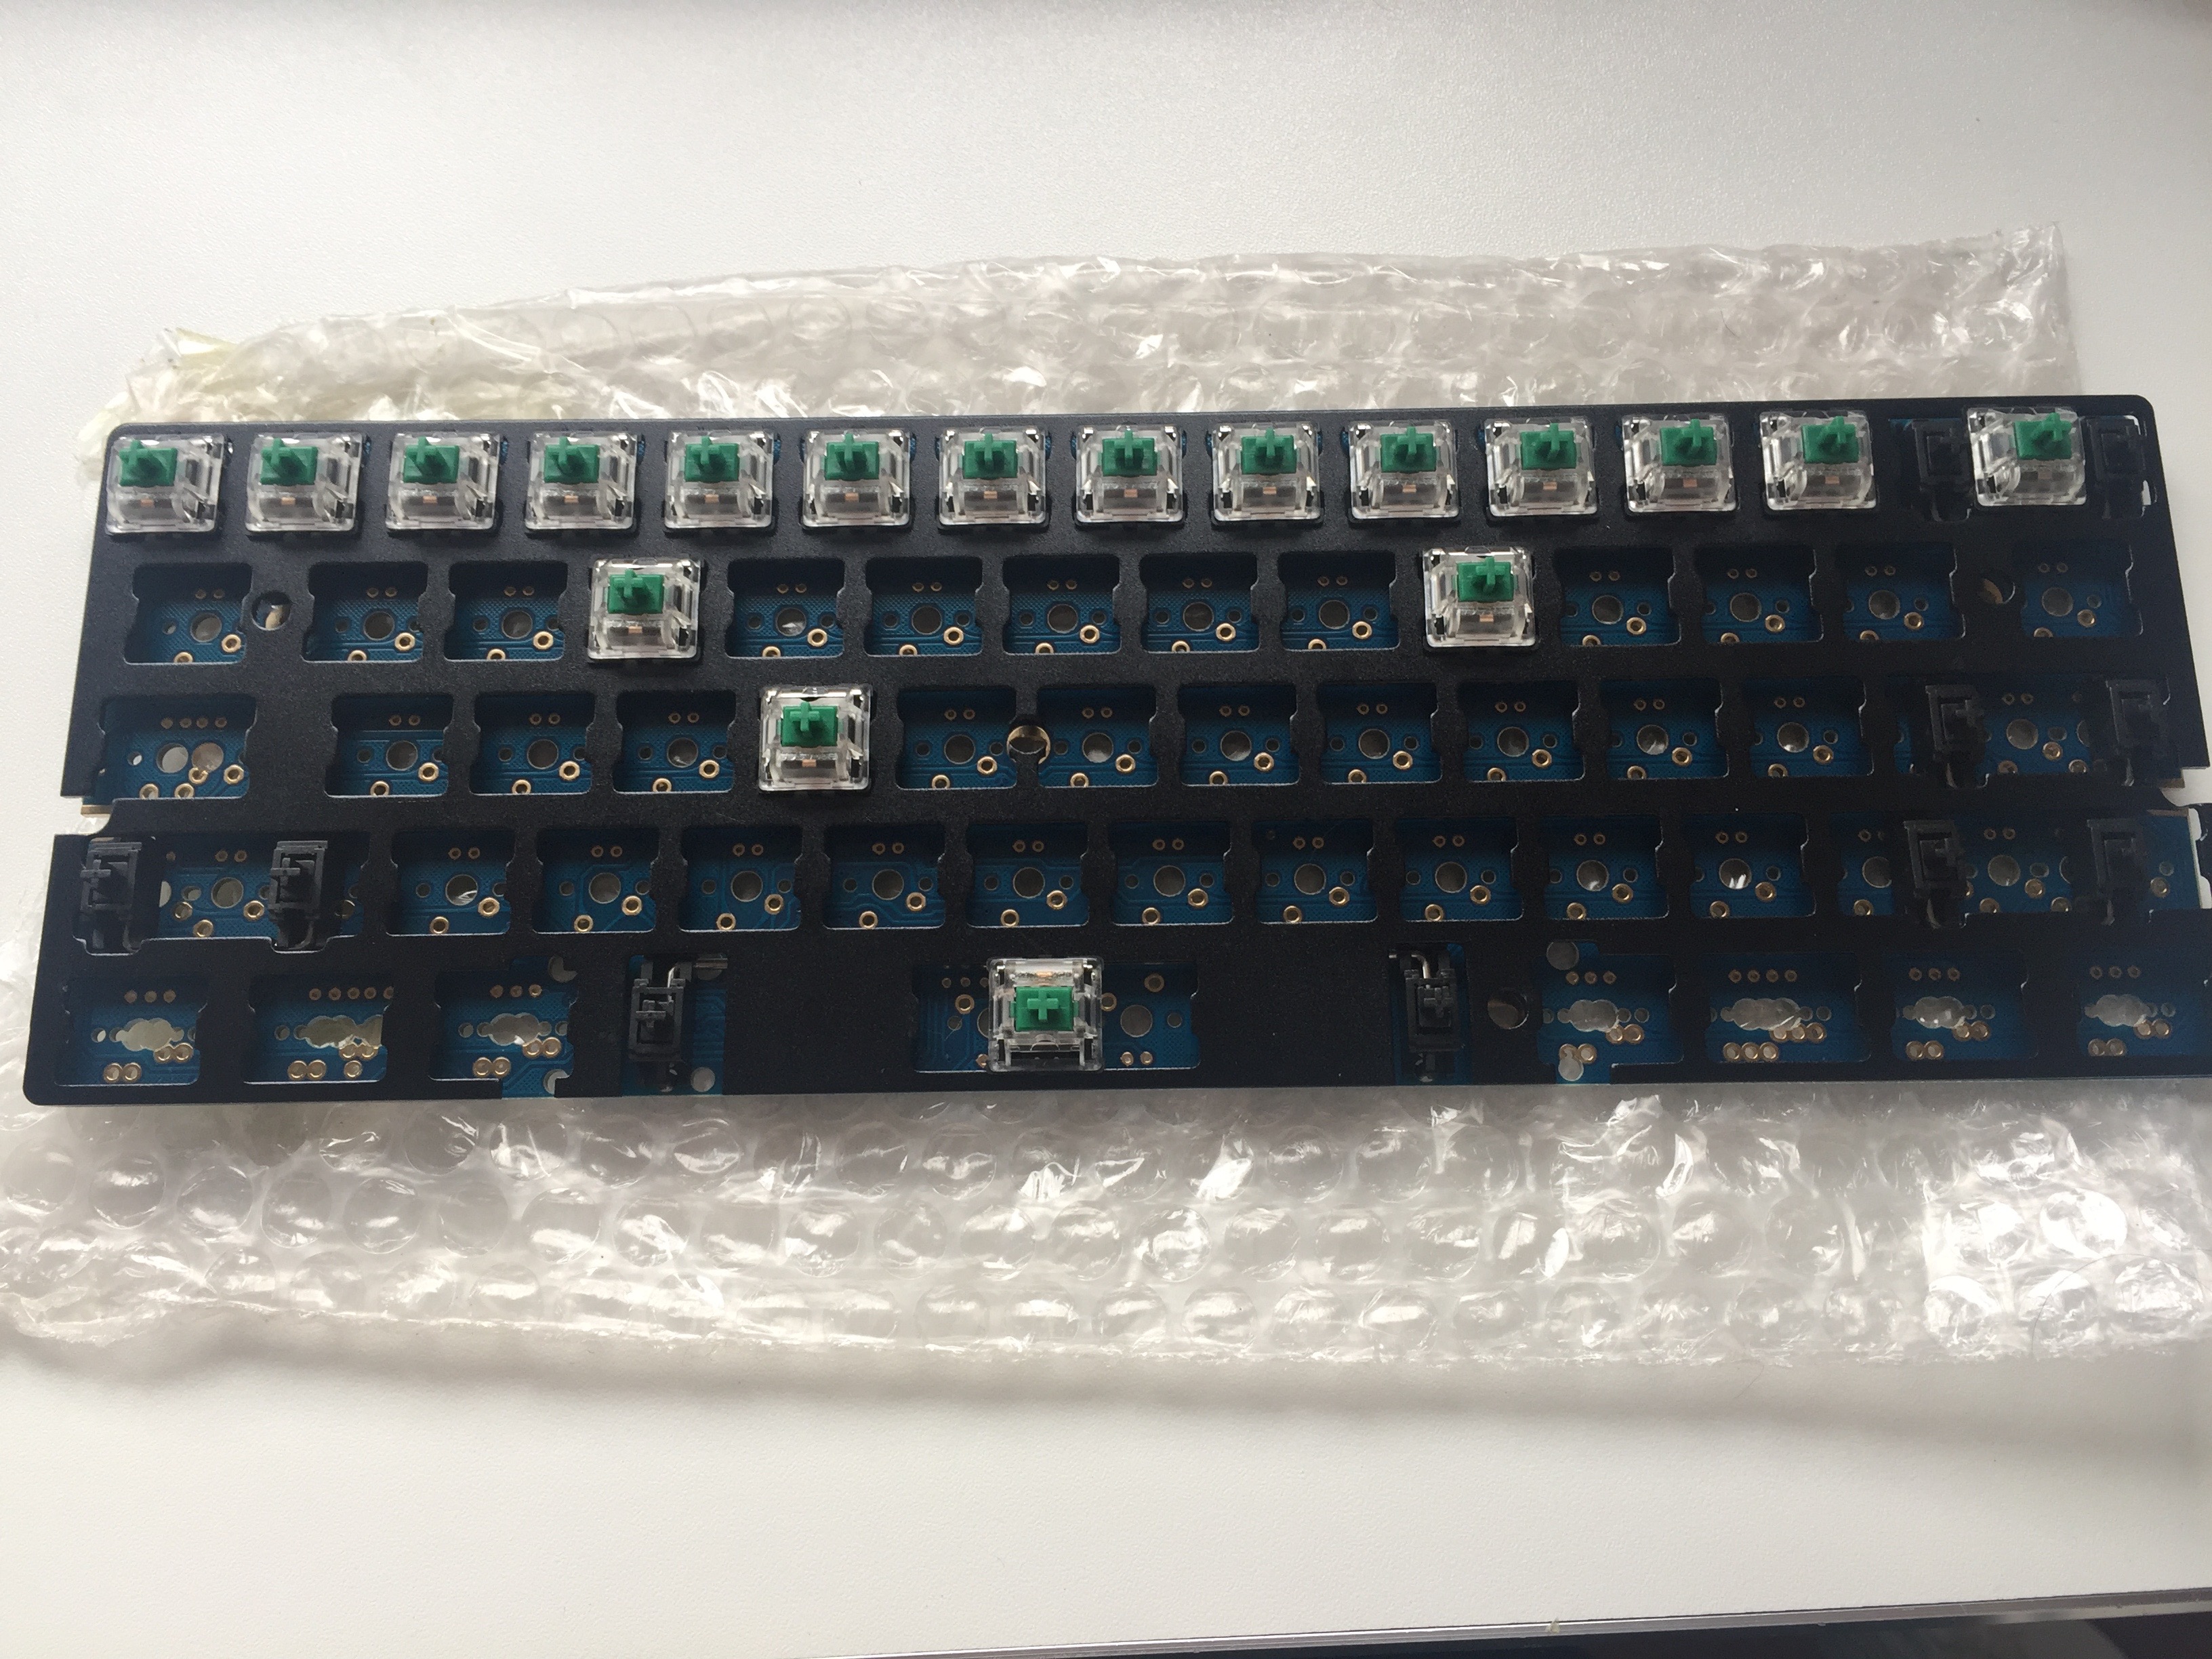
Next line up the top plate with the pcb and you can start placing switches. The switches that come with the kit are plate-mounted, so first you fit the switch into a hole in the plate and then you line up the pins on the bottom of the switch with the holes in the pcb. Be careful with the switch pins, you can break them. It can help to get a few of these switches in the corners to help line up the plate. Once a few of them are in, carefully turn the whole thing over and solder the pins for those switches. This will help to hold the board in place while you place all the others.
Once the switches are all placed and soldered, it's time to test your work. Plug it in and run your favorite keyboard tester. I'm a fan of keyboardtester.com. The little processor on the board comes pre-programmed with a standard layout, so at this point you should find all the keys work. If they don't, you'll need to go back and check your soldering work.
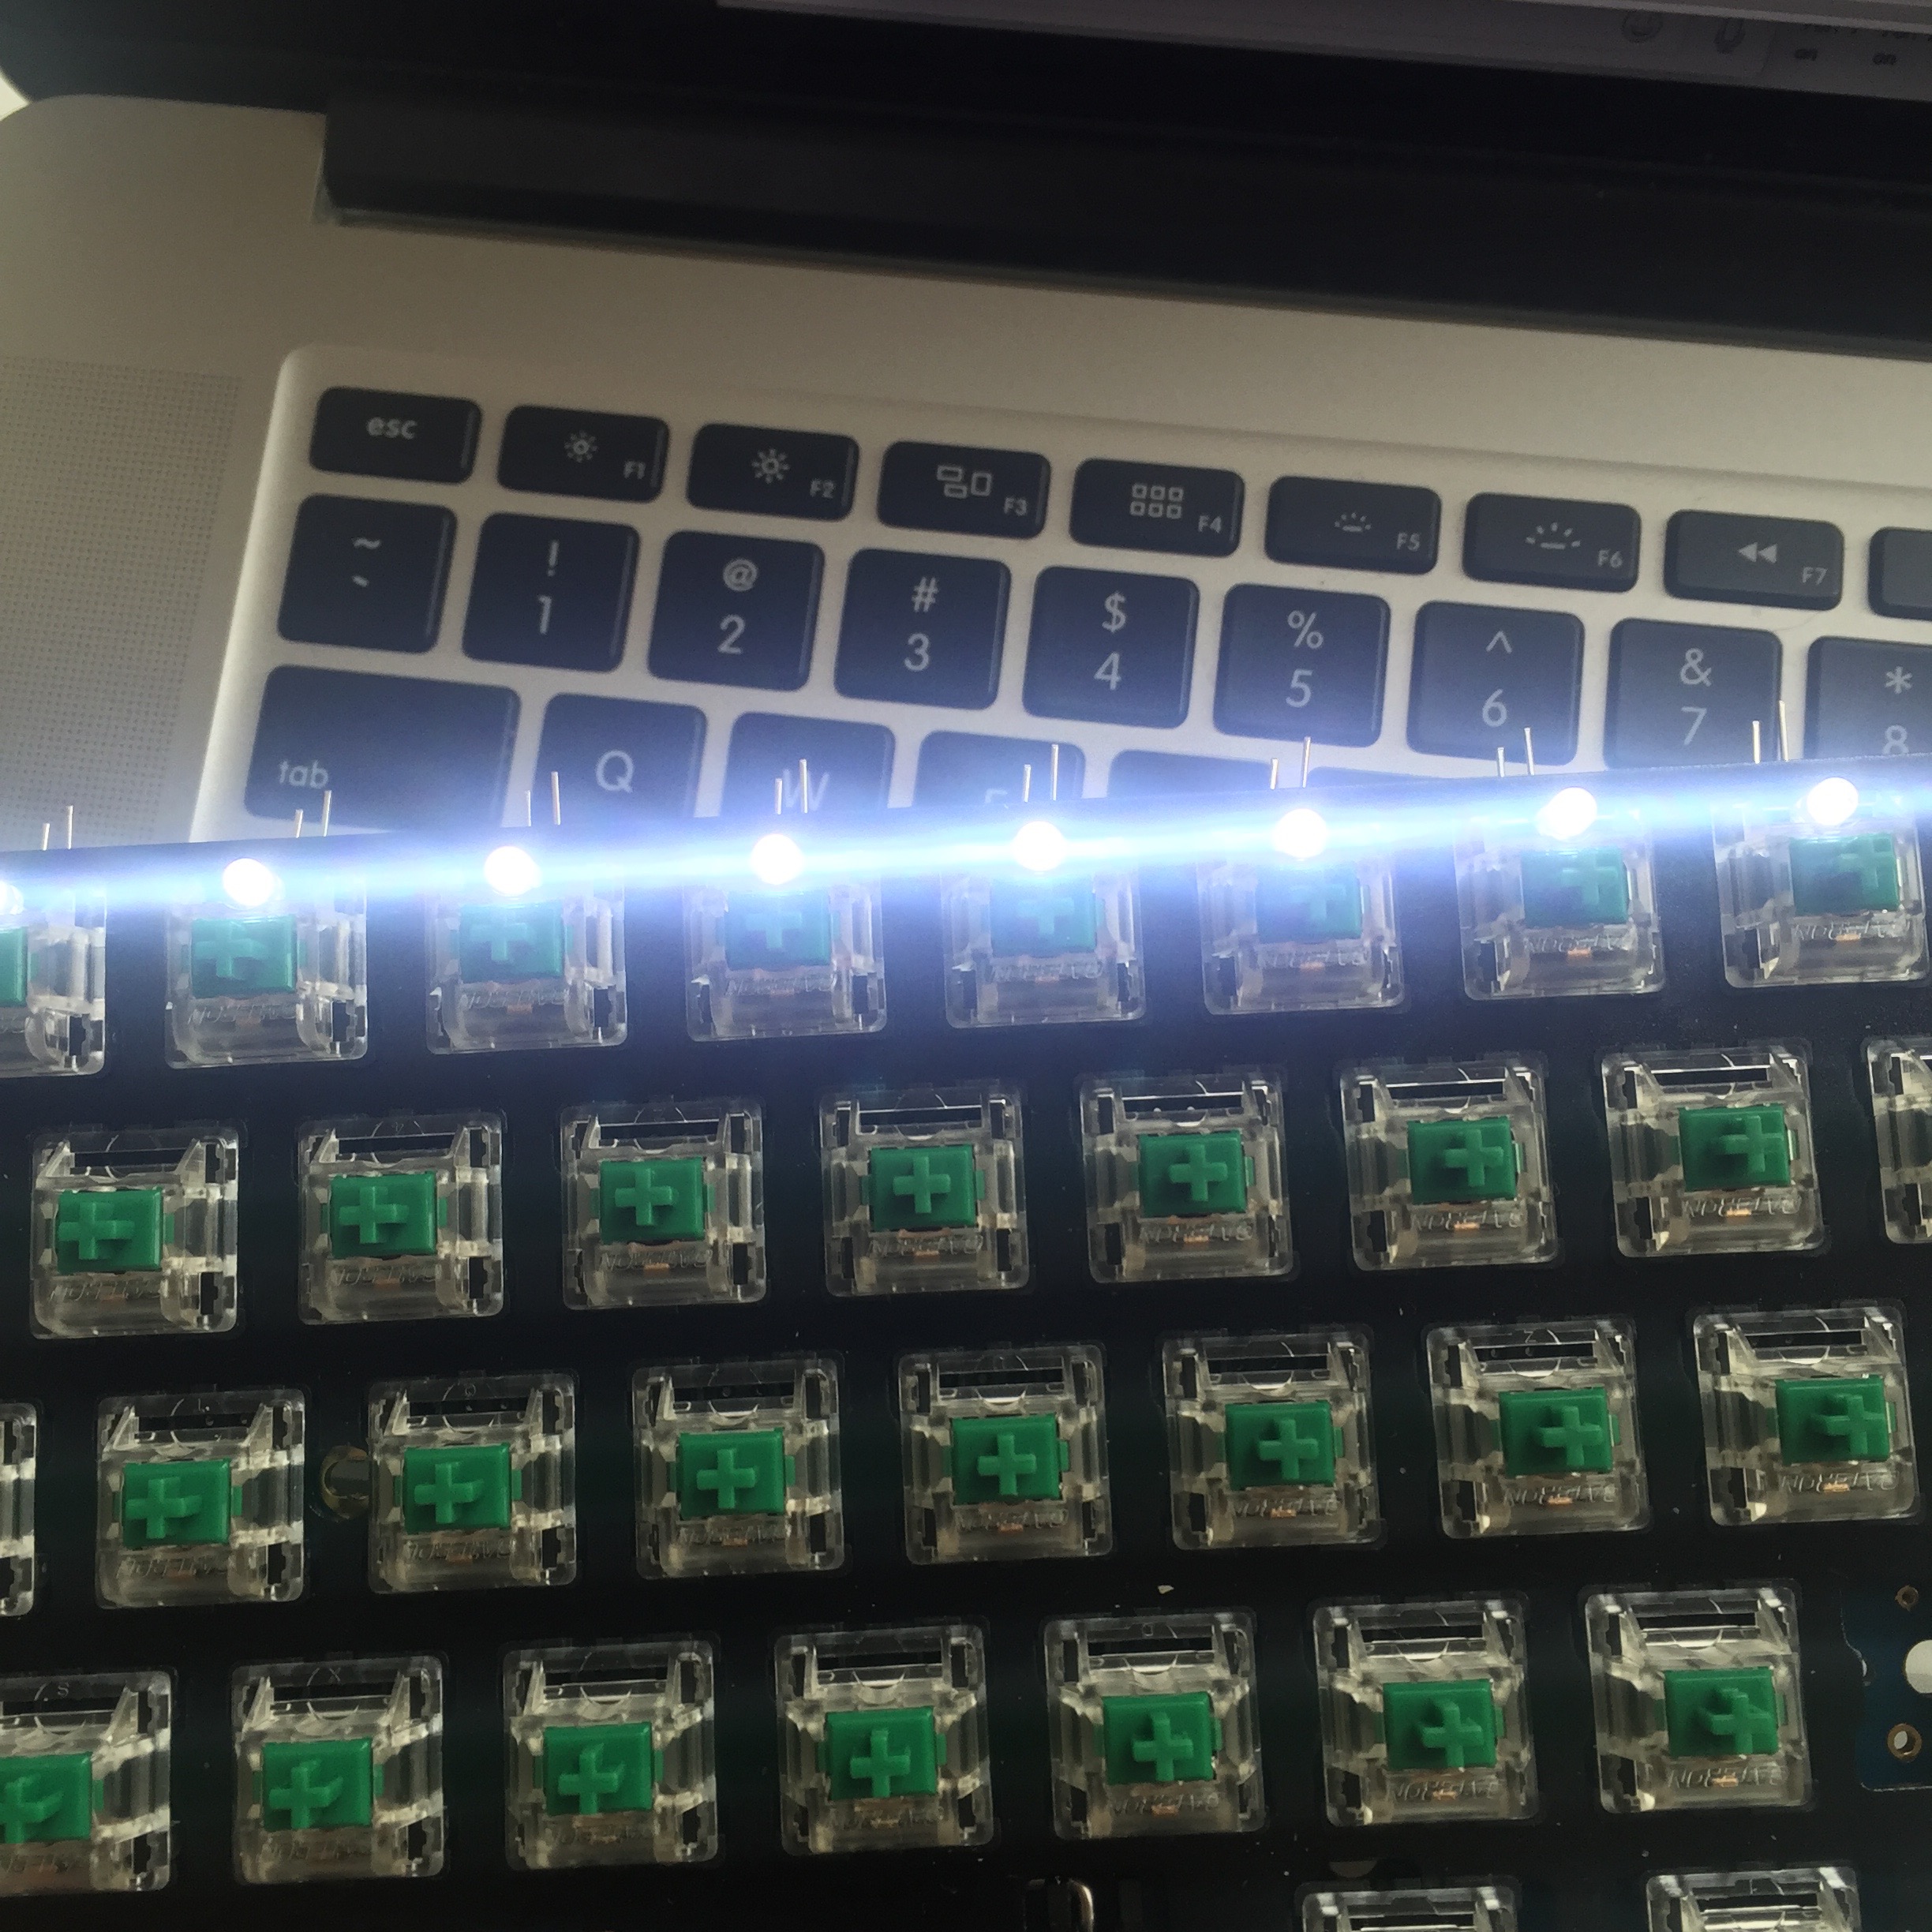
From here you can install the LEDs if you like. They poke in through each switch so the little legs can fit in the tiny holes in the PCB. The long leg of the led is typically the positive lead, so make sure that one goes into the tiny hole marked "+". Once it is positioned, you can bend the legs a bit to keep it in place when you flip the board over to solder it in.
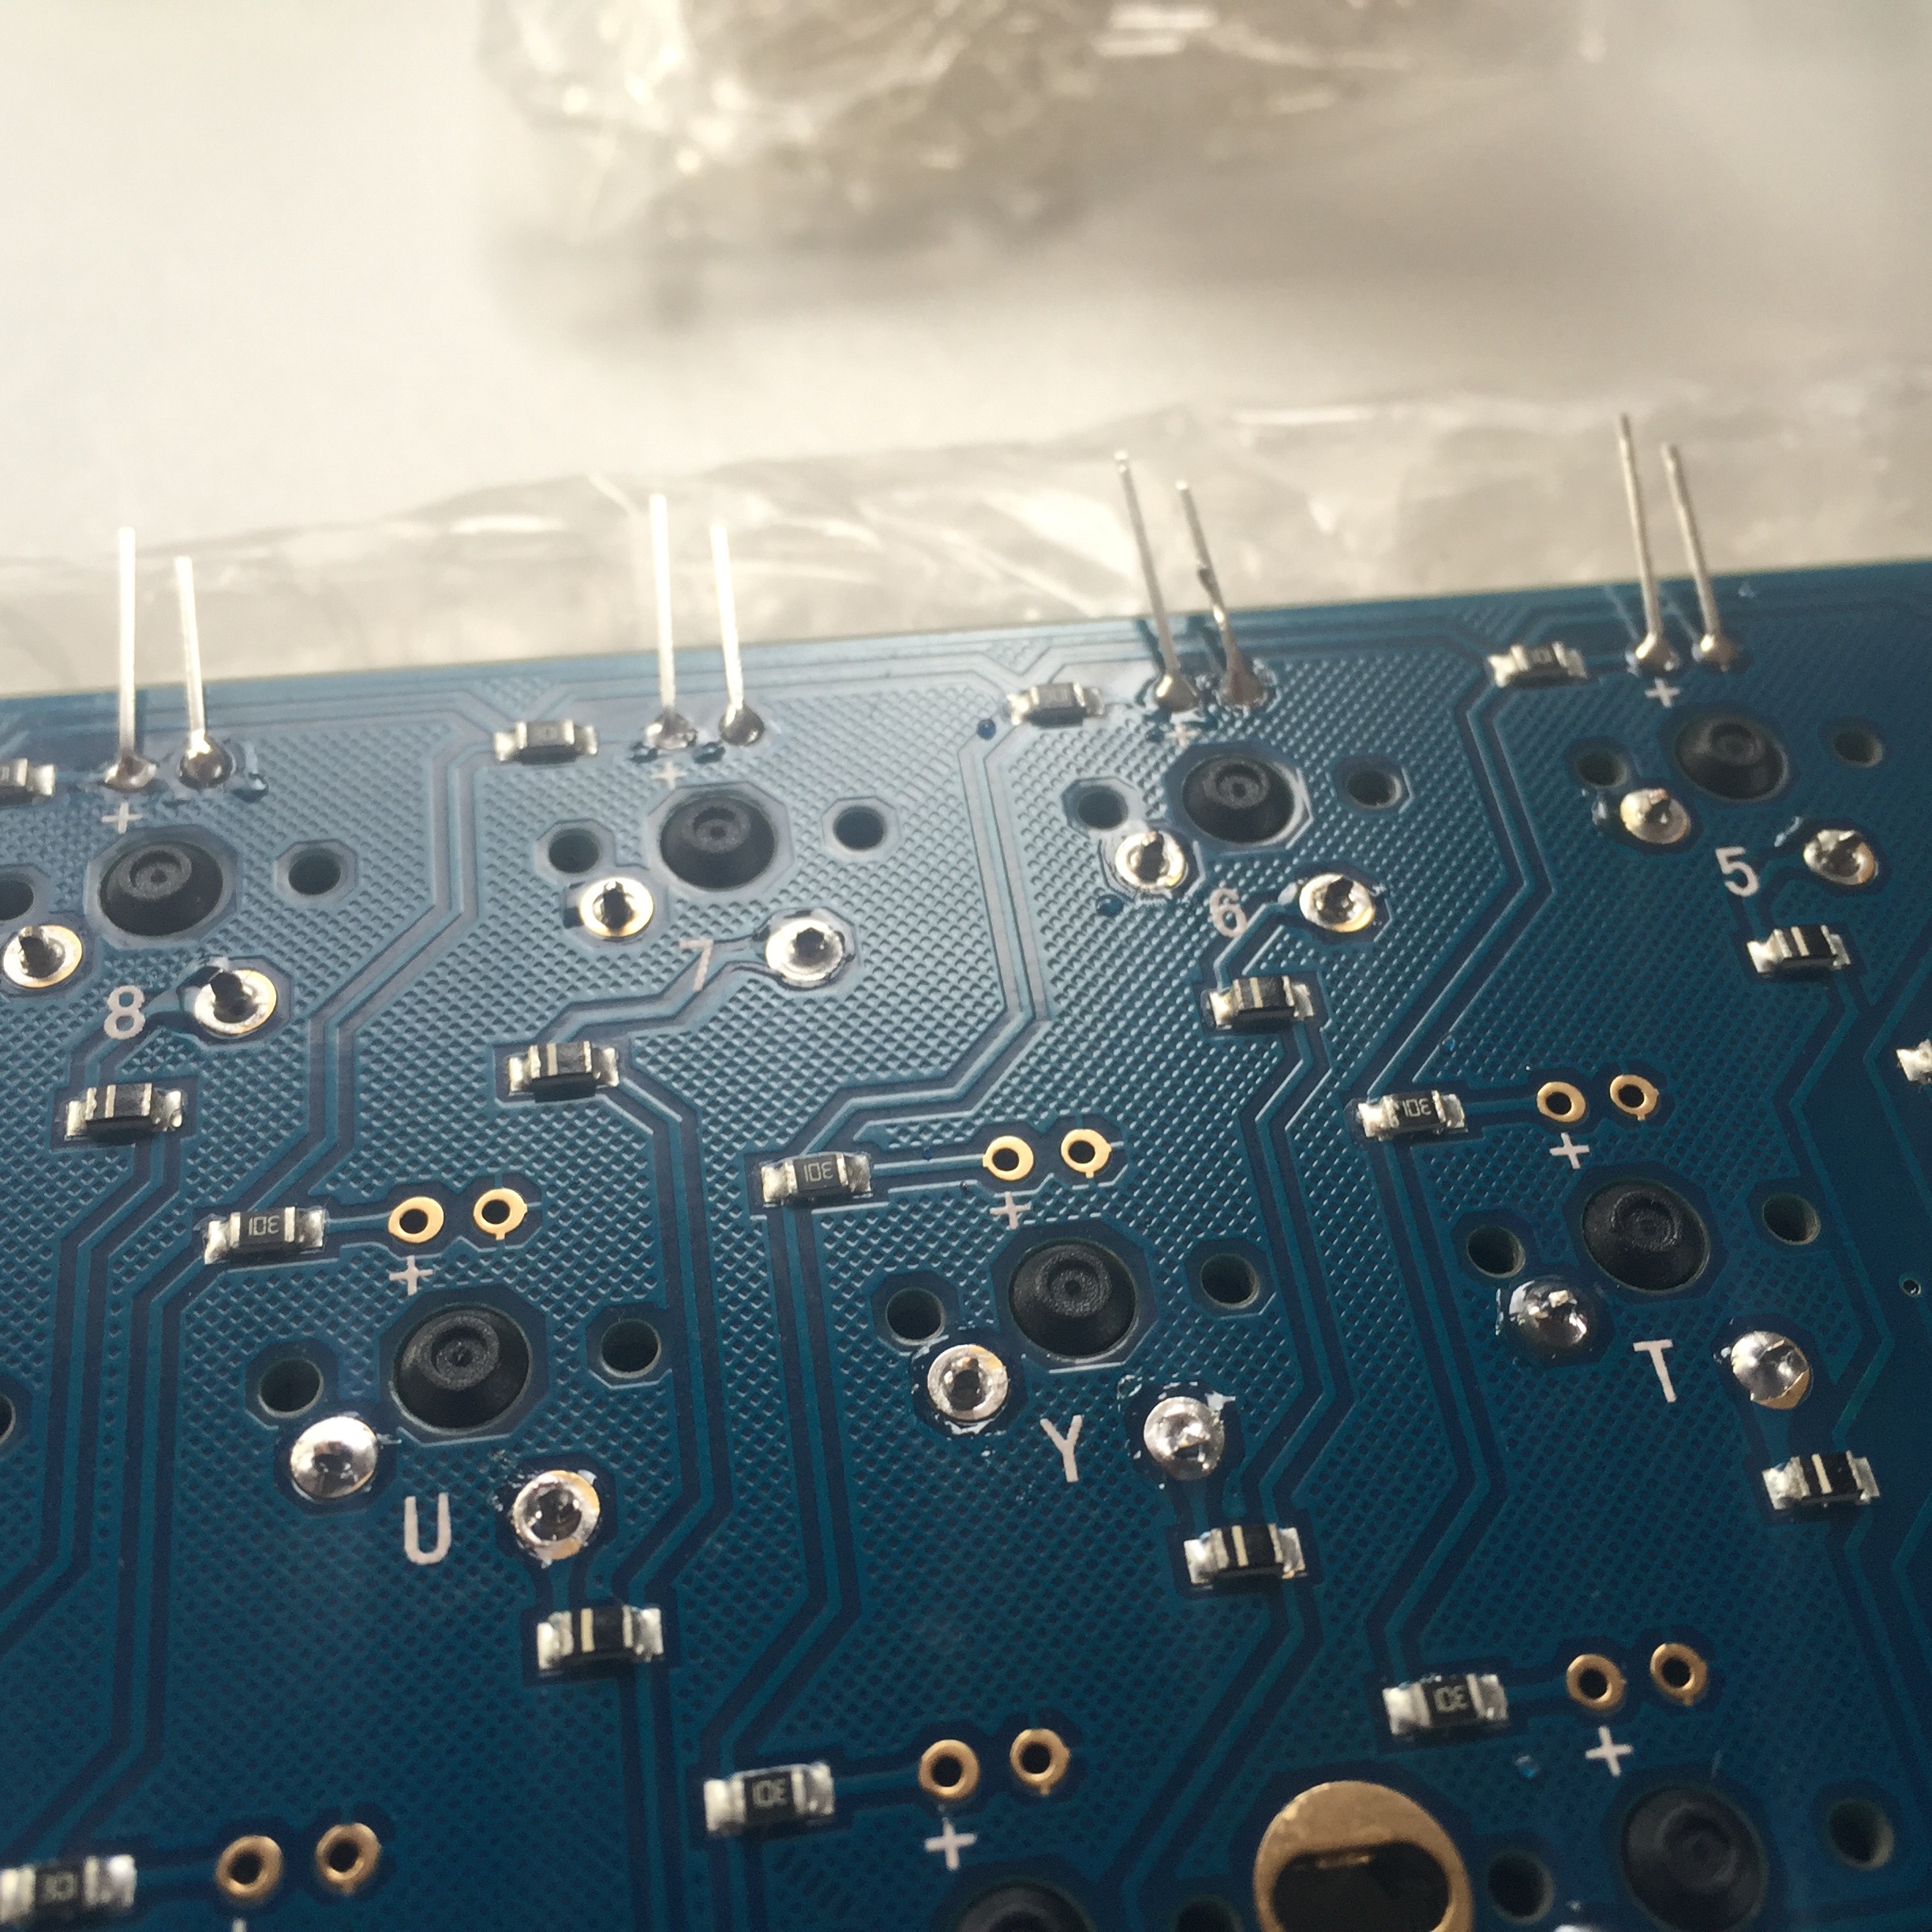
Before soldering, you can plug in the keyboard to make sure the LED is in correctly, it should light up if the legs are touching the edge of the tiny PCB holes.
From here you're all set! Secure it in the case, place your chosen keycaps and get to clacking!
Programming
If you want to make changes to the default layout, you can use this tool (Yes, that's a direct IP address, and yes that's weird). It is a flash app that allows you to change the layout of up to 10 "layers" on your board and generates the proper hex file to install on your board. I tried other tools for programming other boards such as the GH60, but the KC60 is just different enough that it you might think your switches are broken. This tool was made by the manufacturer I think to generate the proper file.
One you have the hex file, you can press the programming button on the bottom of the pcb and use a tool such as dfu-programmer to install it. Dfu-programmer is a command-line tool you can install via Homebrew on OS X and by whatever package manager you use on your Linux distribution. Once it is installed, invoking the tool looks about like this:
dfu-programmer atmega32u4 flash kc60_colemak.hex && dfu-programmer atmega32u4 reset
This says, "Install my hex file onto the keyboard (which has an atmega32u4 processor) and reset the processor to put it back into normal working mode." If this succeeds, you'll be the proud owner of a keyboard that was built from the beginning exactly like you wanted, down to the function of each key. Programming the board means you can make any key or combination of keys do the things you would normally lose from having a smaller board such as arrow keys or the F1-F12 keys.
On a typical laptop keyboard, you will find an "fn" key. This is because there just aren't enough keys to have a button for everything unless you're on a giant 19 inch laptop. A typical Apple laptop, for example, uses "fn" to allow you to send "page up" and many other commands. We get this same behavior on the programmed KC60, but we can even take it a step futher. We get up to 10 "layers" and we get whatever we want in each one. We also have the ability to make more complicated fn keys. You could make one that doesn't require you to hold it down to work and simply tapping it once changes the current layer and leaves it there. This would allow you to, for example, have your keyboard with a normal QWERTY layout most of the time, but use a button to toggle to a Colemak layout when you want to give that a try (or the other way around for when other people want to try your keyboard but don't know how to type on Colemak). The possibilities are nearly endless, so you now have something to play with for quite some time. Enjoy!